More videos, pics and storys from our roadtrips visit: www.camperontour.com
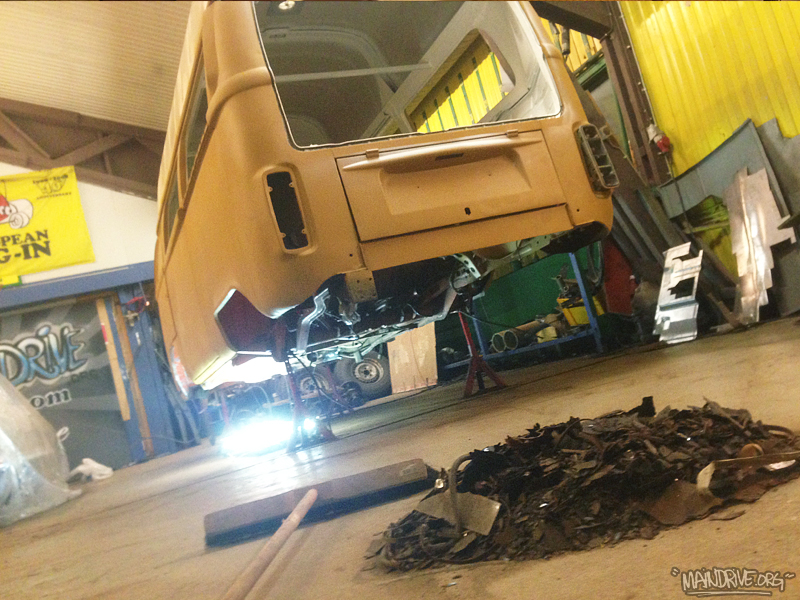
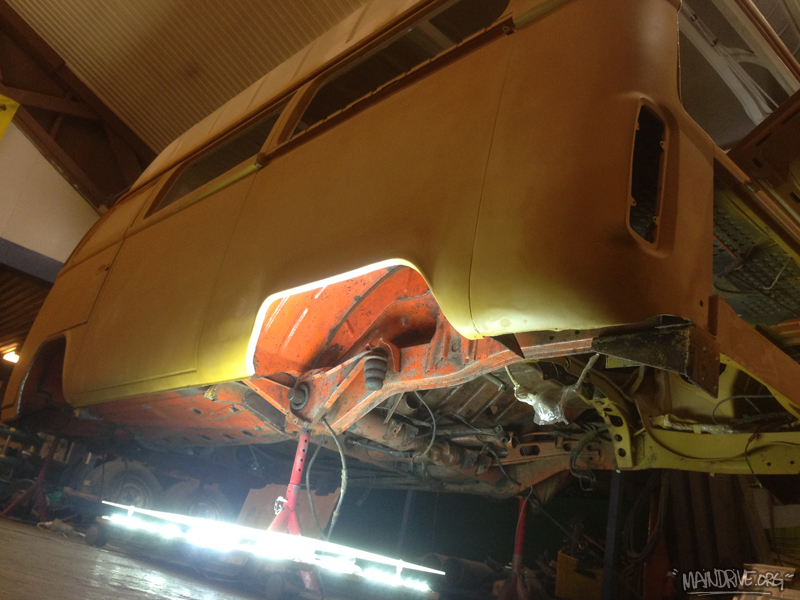
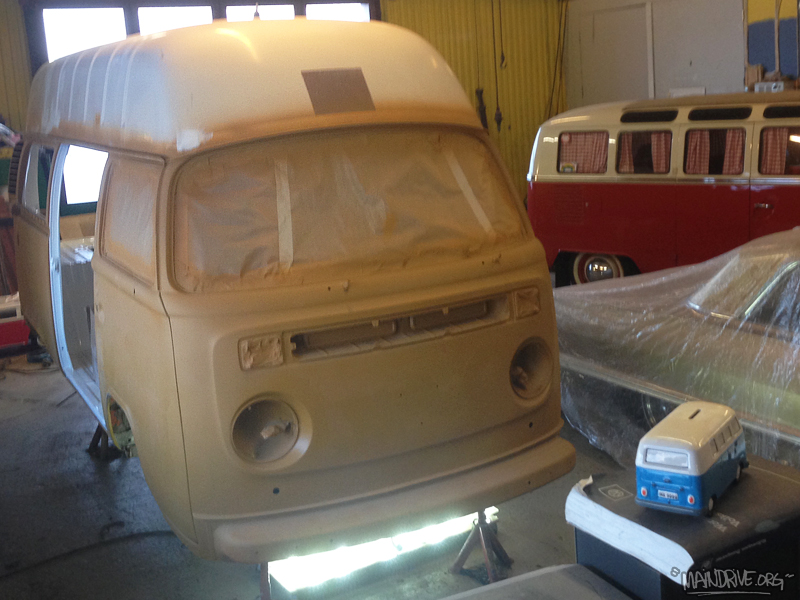
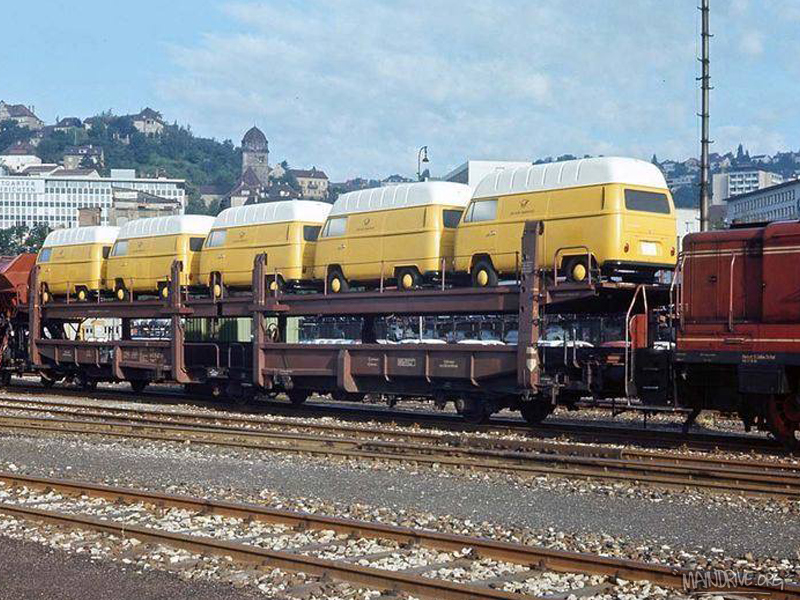
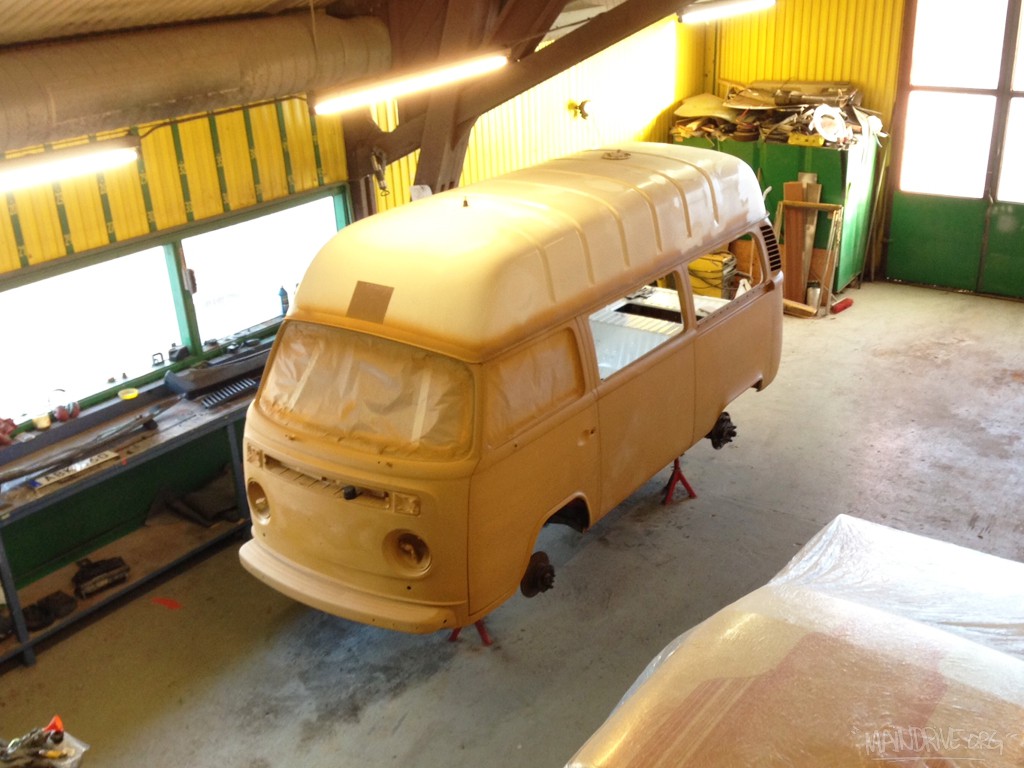
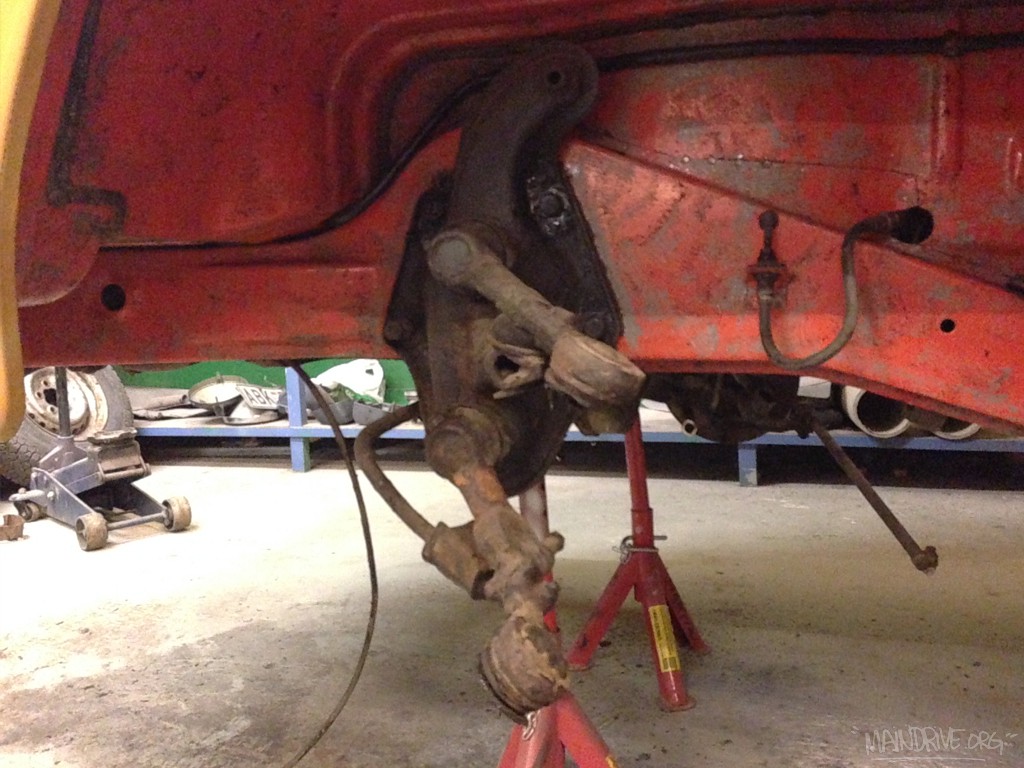
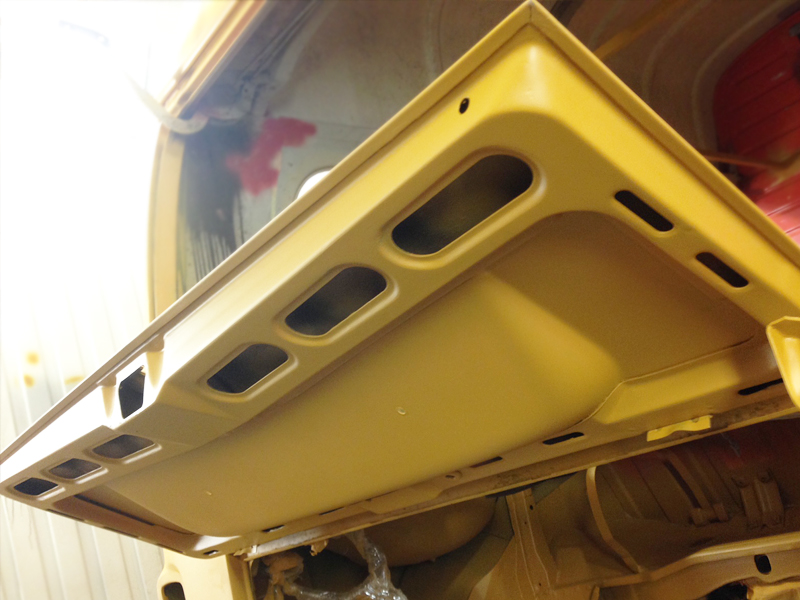
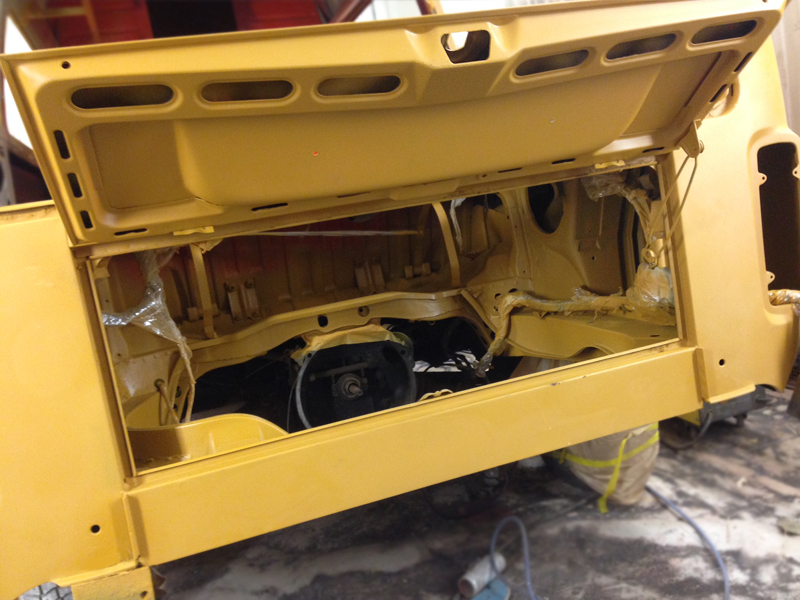
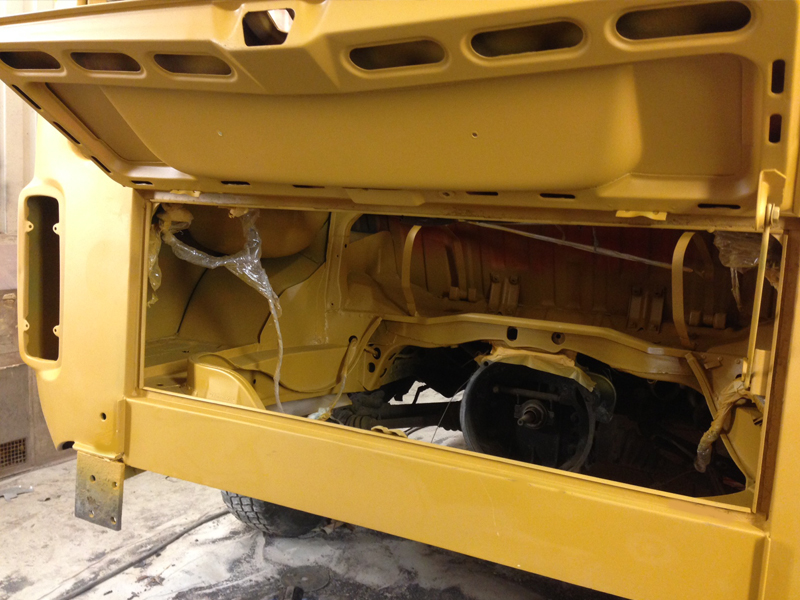
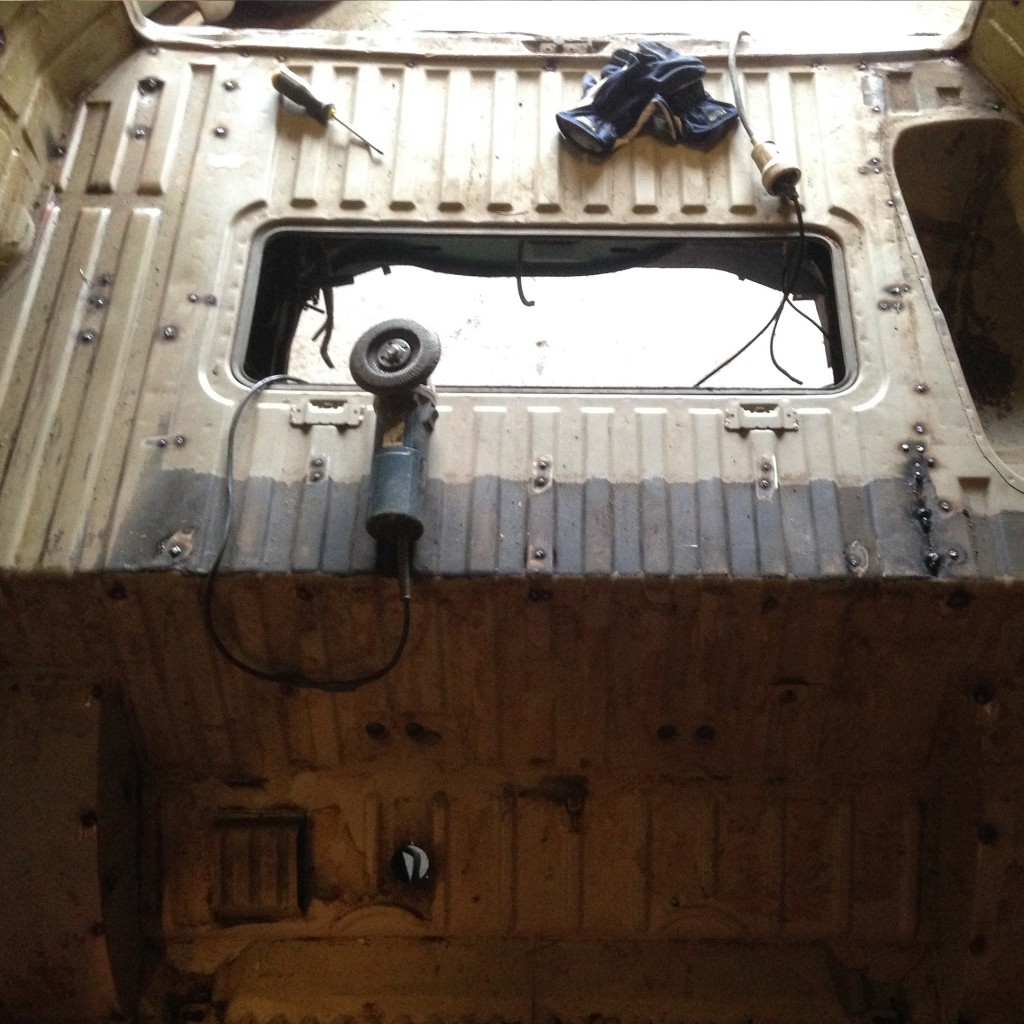
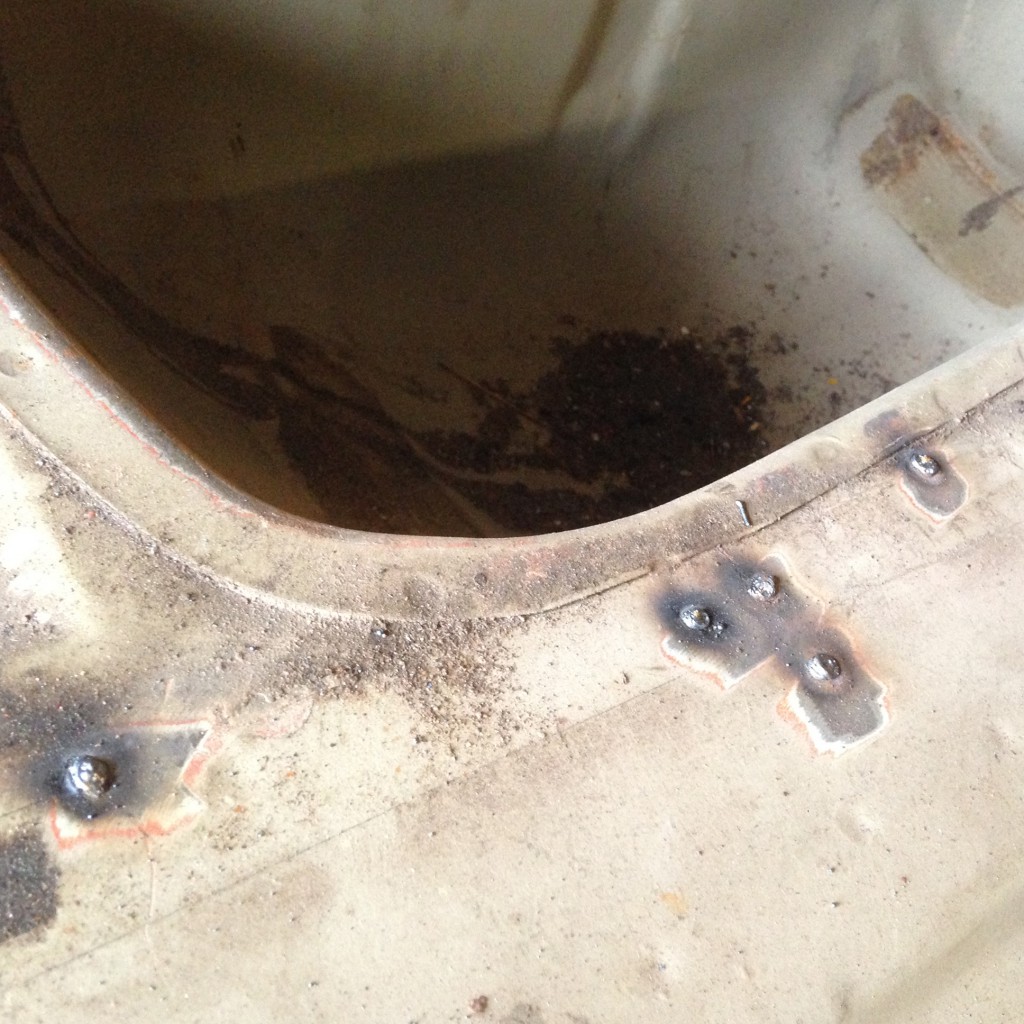
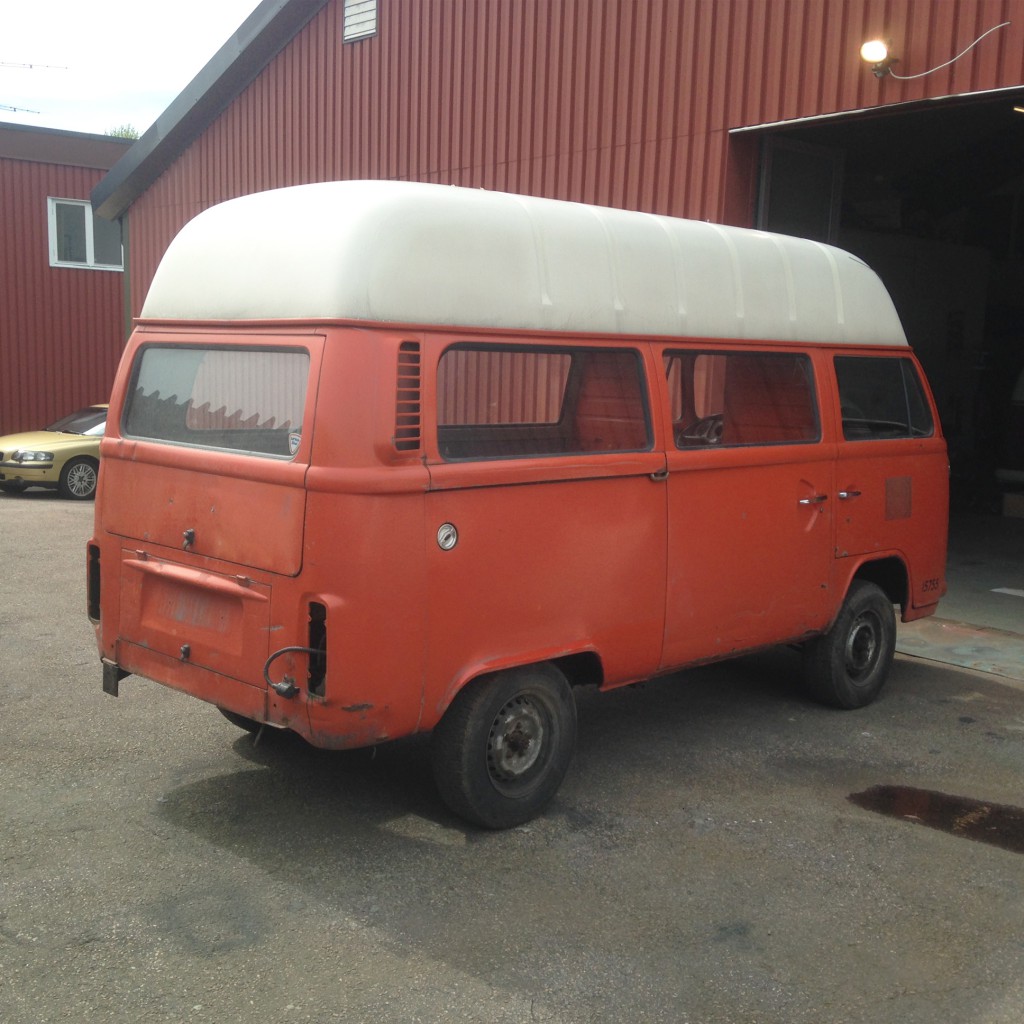
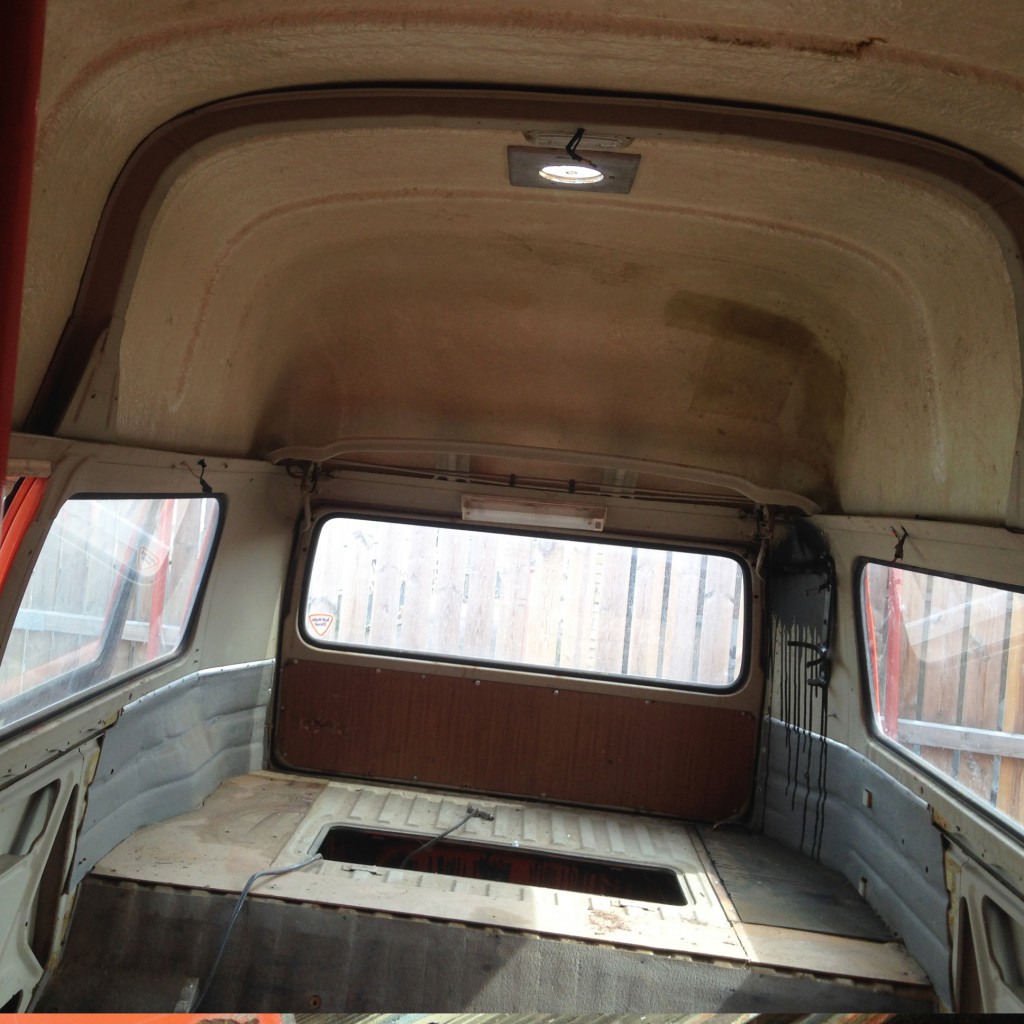
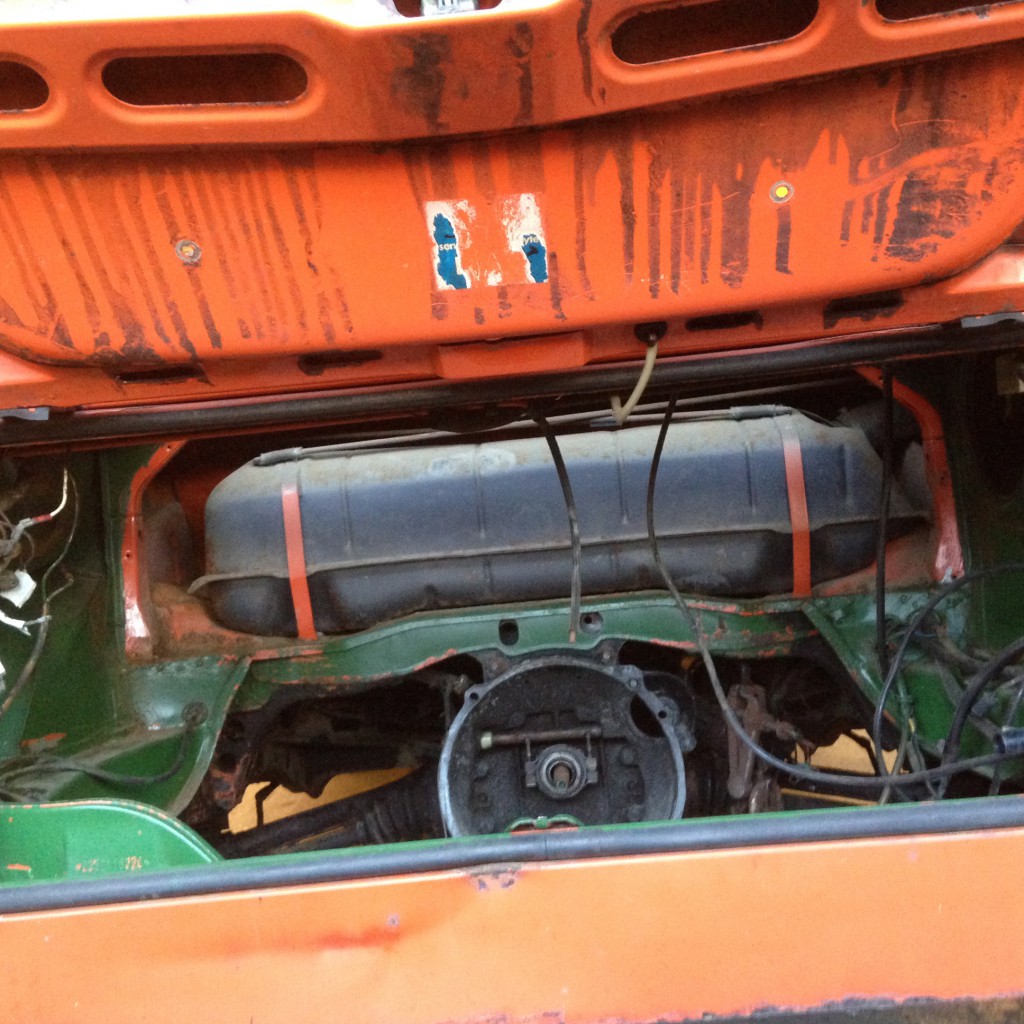
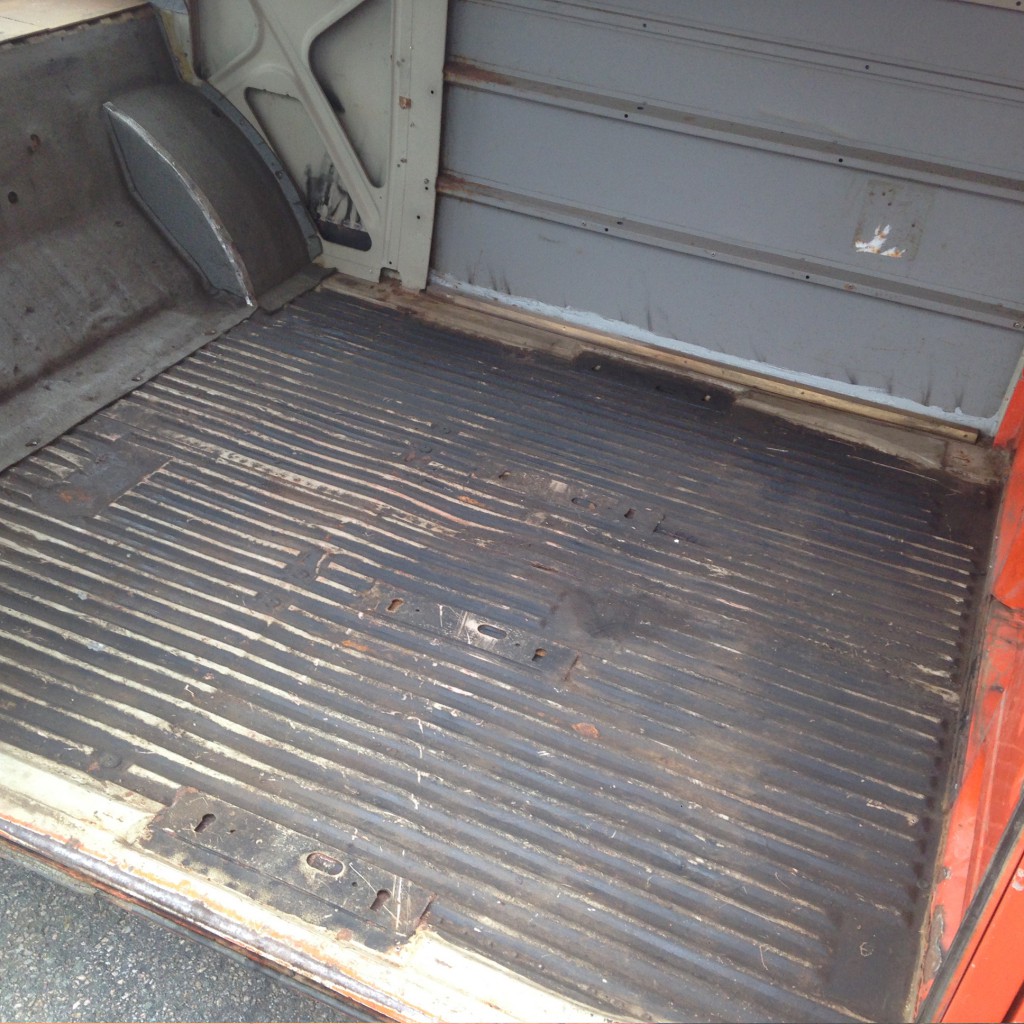
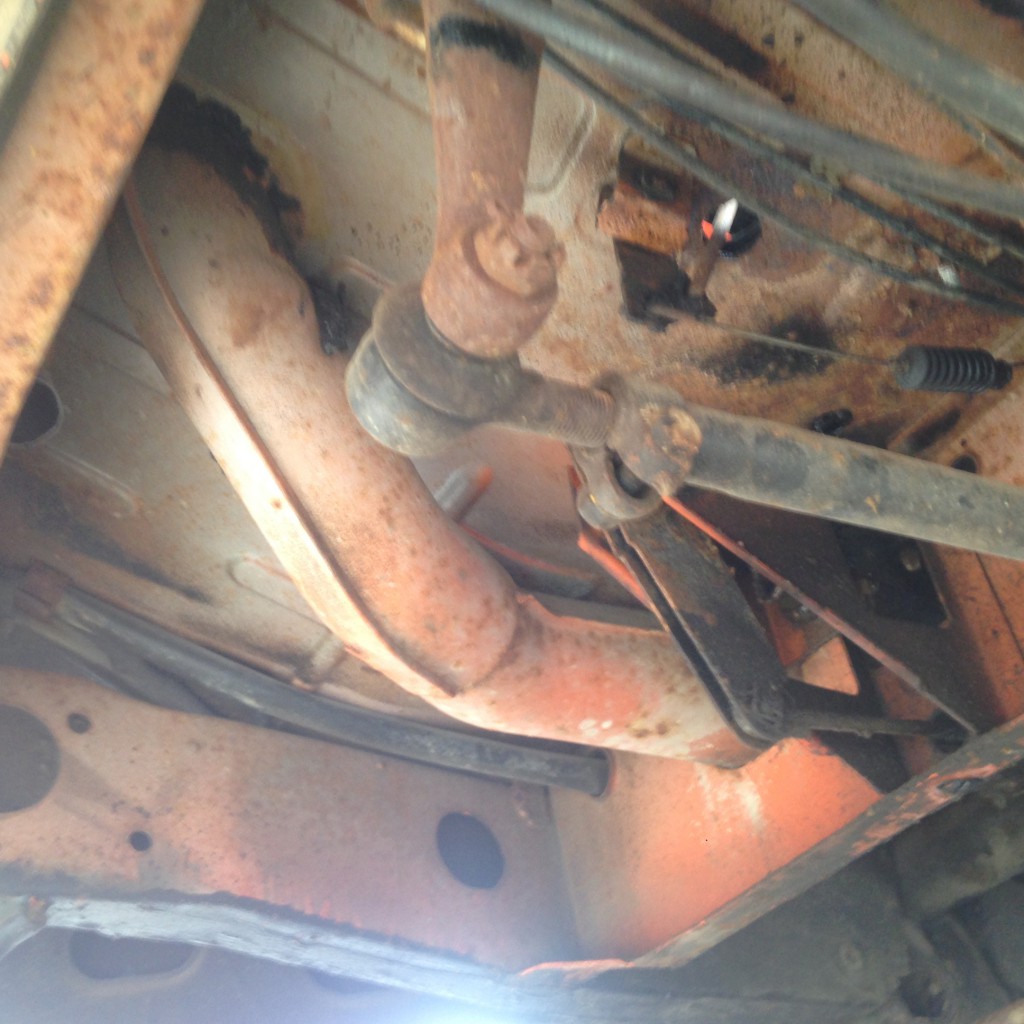
Doing some really boring work on the Highroof Baywindow at the moment. Specially when it’s -20 celsius outside. Removing all of the old undercoating. Work that takes alot of blood, sweat and tears and is not showing much later, but good to know it’s like new under also. Only going to drive it on the summers anyway. Next time I can start sanding the chassi and lay a coat of rust protection (epoxy primer). Then add a new layer of fresh undercoating, that sort thats possible to paint over. So when it have dried for some days I can paint all of the underside in top color, VW L20 Marino yellow. Ready for all the new parts, wires, hoses, grommets, bearings, bushings, balljoints, steering rods, brakelines, servobooster basicly every nut and bolt!
When the chassi is painted and ready I can start restoring the frontbeam, transmission and get the Eberspächer BA6 working again. A really good and clever heater, much better then the older BN4 ones. Will be nice on chilly mornings in the spring!
Still looking for some parts if someone have for sale? NOS parts for BA6 is intresting, like sparkplugs (BZE22) etc. Also looking for a pair of the slider rail metal covers (held with 2 screws). Engine cooling thin and heatexchangers is missing. Send me a mail on: info@maindrive.org
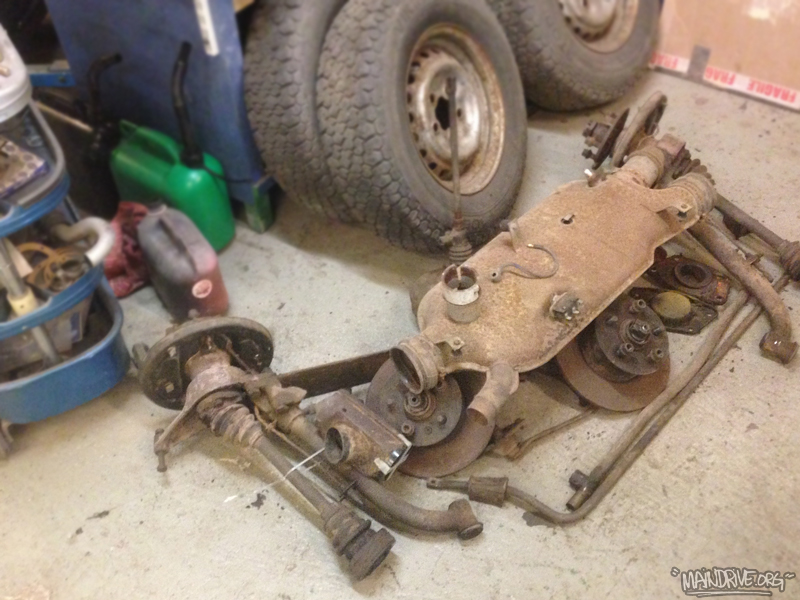
Chassi parts that are going to be sandblasted and painted/restored.
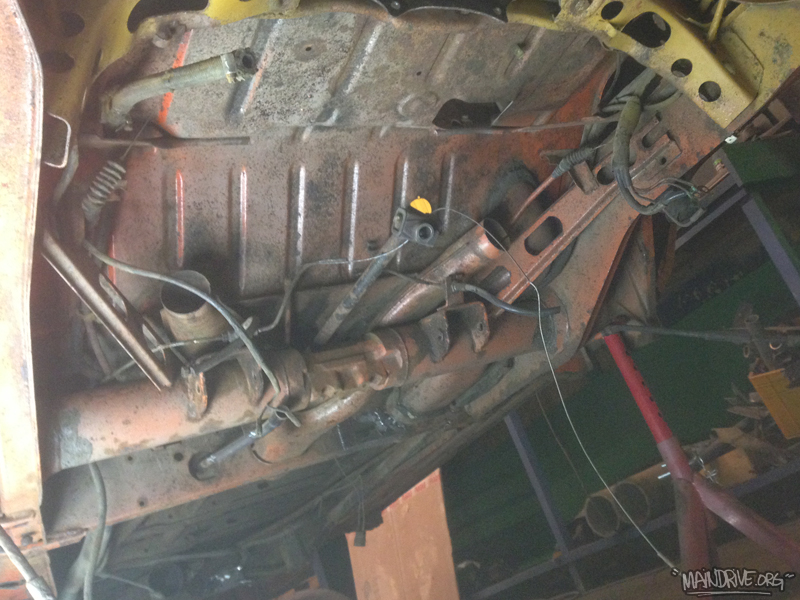
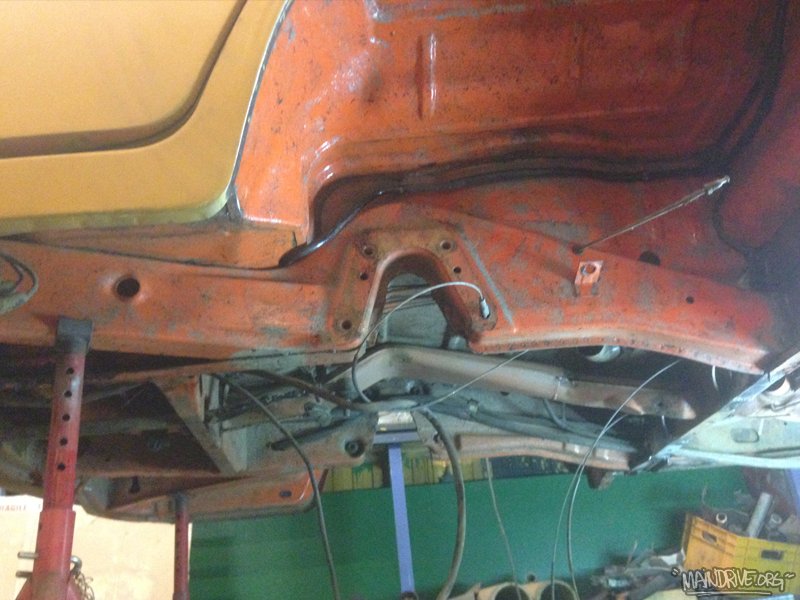
No more undercoating. Just some wires and tubes that needed to be removed before sanding and primer. Here you can see factory grey primer and the orange overspray from body. When I am done with this chassi it will be better and nicer than it was from factory for sure.
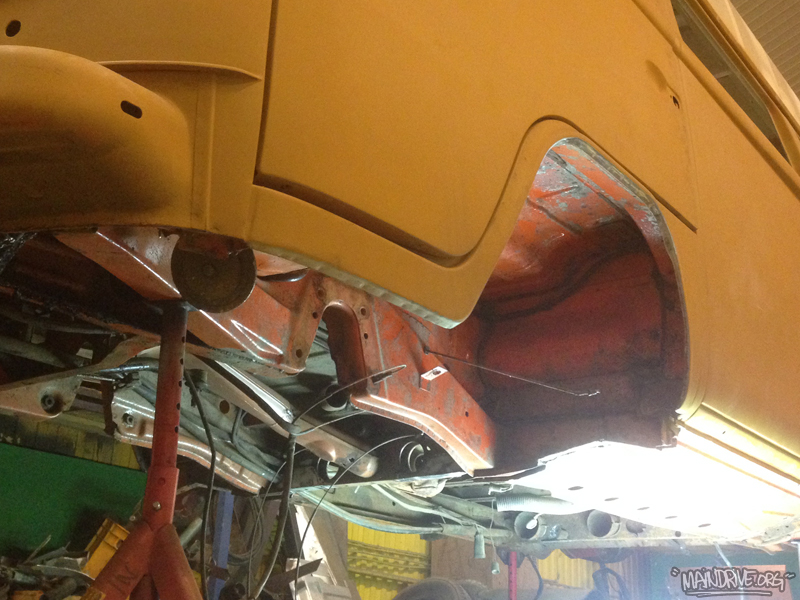
Color on chassi will be the same as on the body, original VW color, L20A Marino yellow. Period correct.
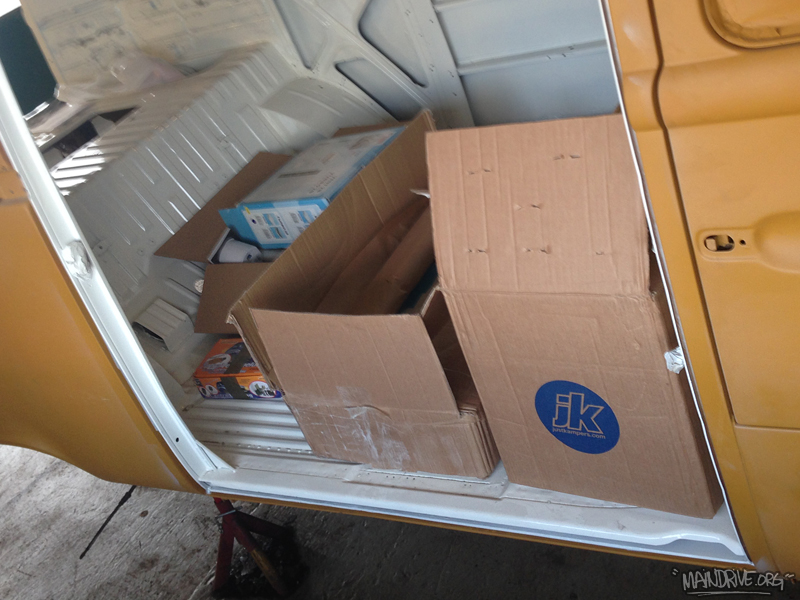
Can’t wait to start bolting on new parts on the painted chassi!
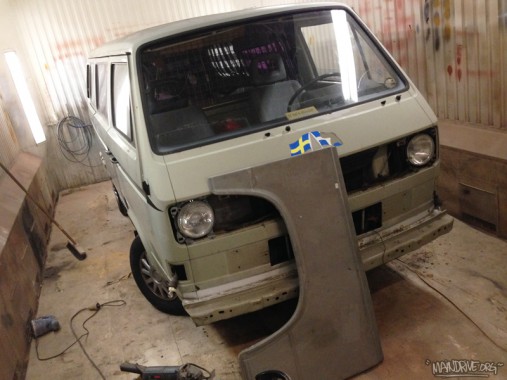
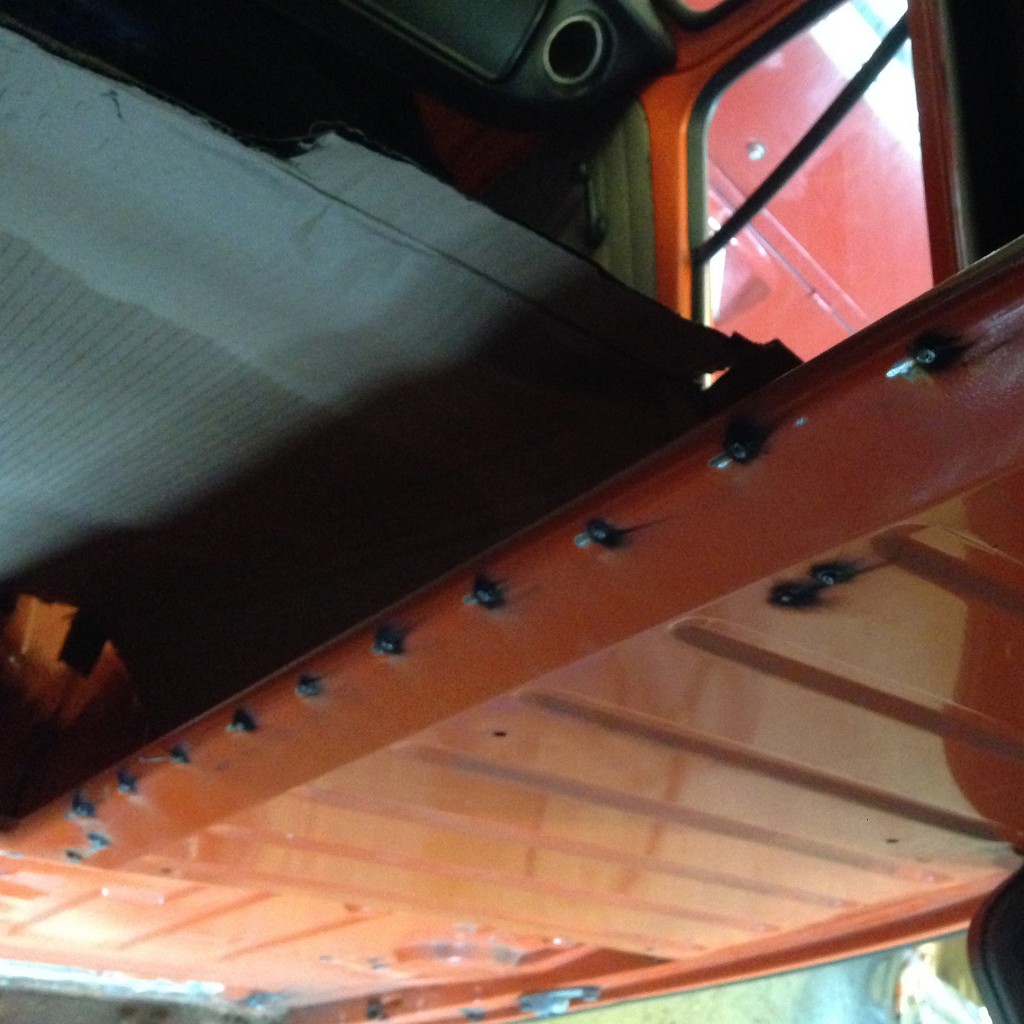
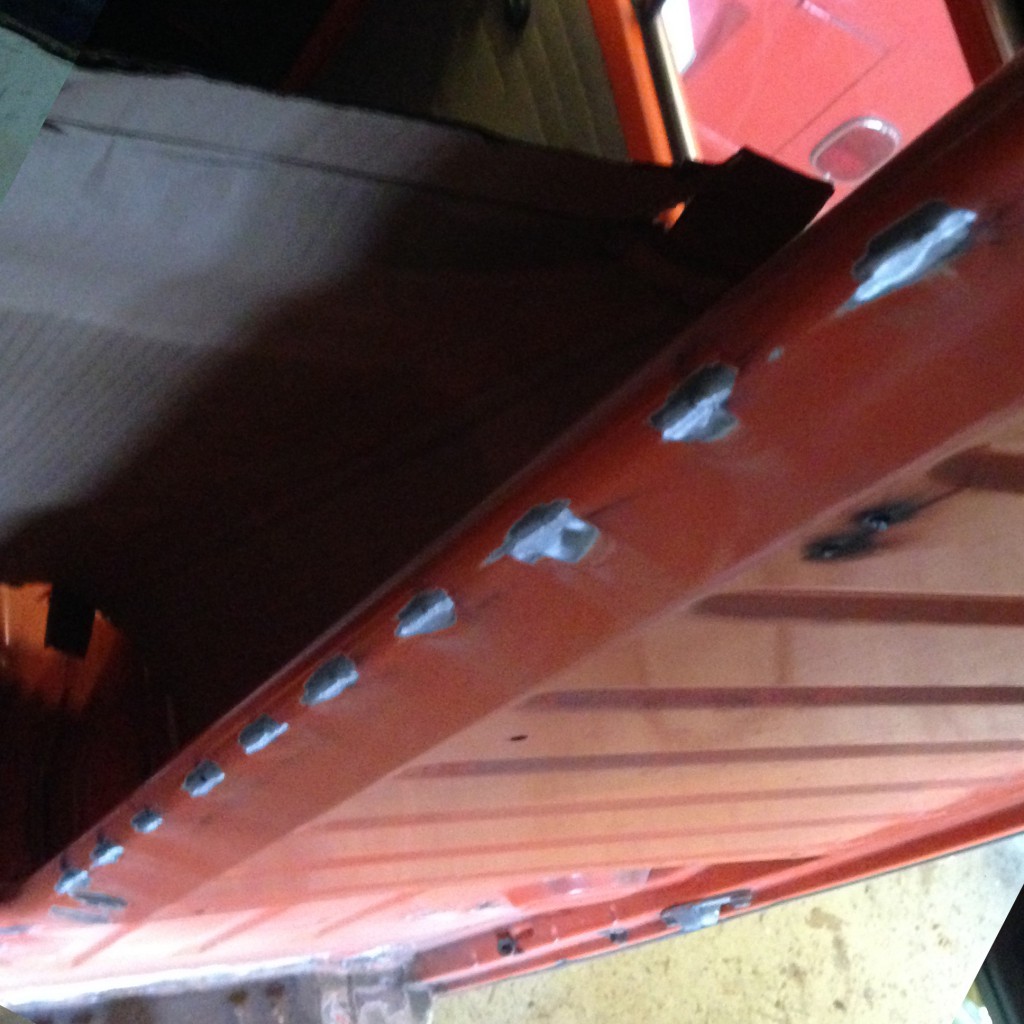
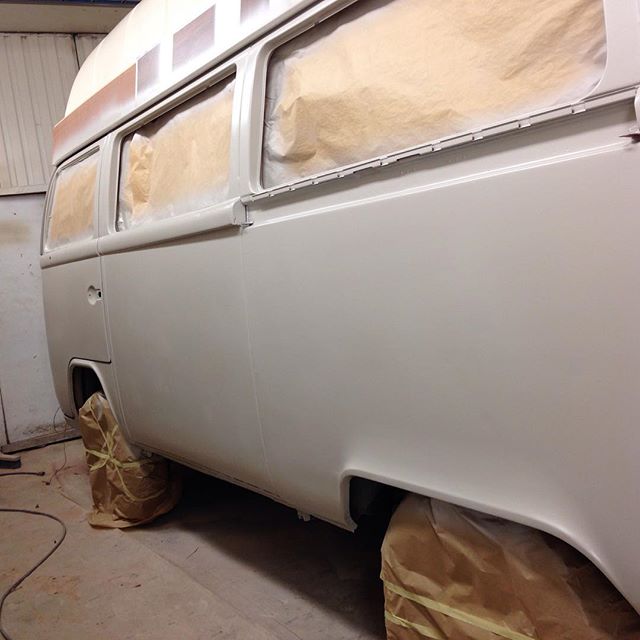
Replacing all rust with new metal on Benny’s bus, the VW transporter from 1983. Hope to finish the rest tonight and then it’s ready for sanding/bodywork/paint. New rubberseals for the all 6 windows, new bushings for frontend and new mirrors from Just Kampers.
A short TV-serie from the UK. Traveling around in a Baywindow in Devon and all around the country. You can see them all on Youtube for free!
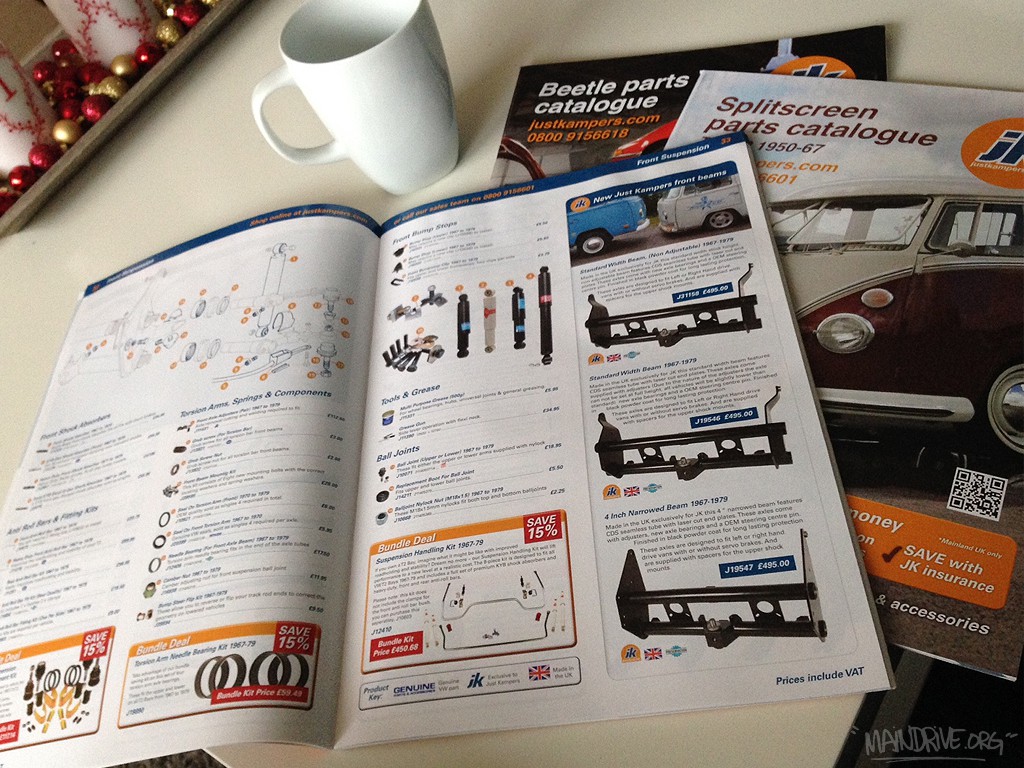
Yeah the winter season is definitely here. It’s -10 celsius (14 Farenheit) outside here in Sweden. But days like that are perfect for ordering new VW parts with a cup of coffee in the other hand. Im making a loong list of new parts for the Baywindow Highroof project and also new window rubbers etc for the VW T3 transporter. After 10 years of building VW’s I finally found a serviceminded VW part store that have great quality on their stuff too!
Im now buying all my new parts from JUSTKAMPERS instead. They are based in the UK but ships worldwide, cheap shipping prices and have the best service you will ever find from a VW shop. I can really recommend these guys, take a look at their website here!
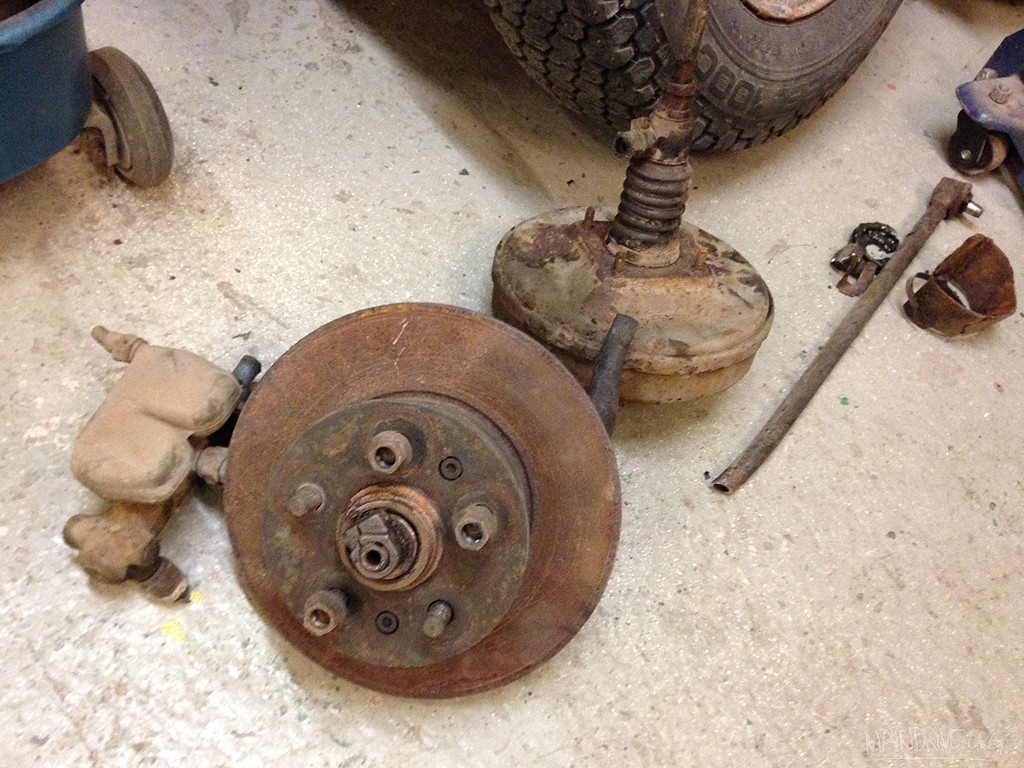
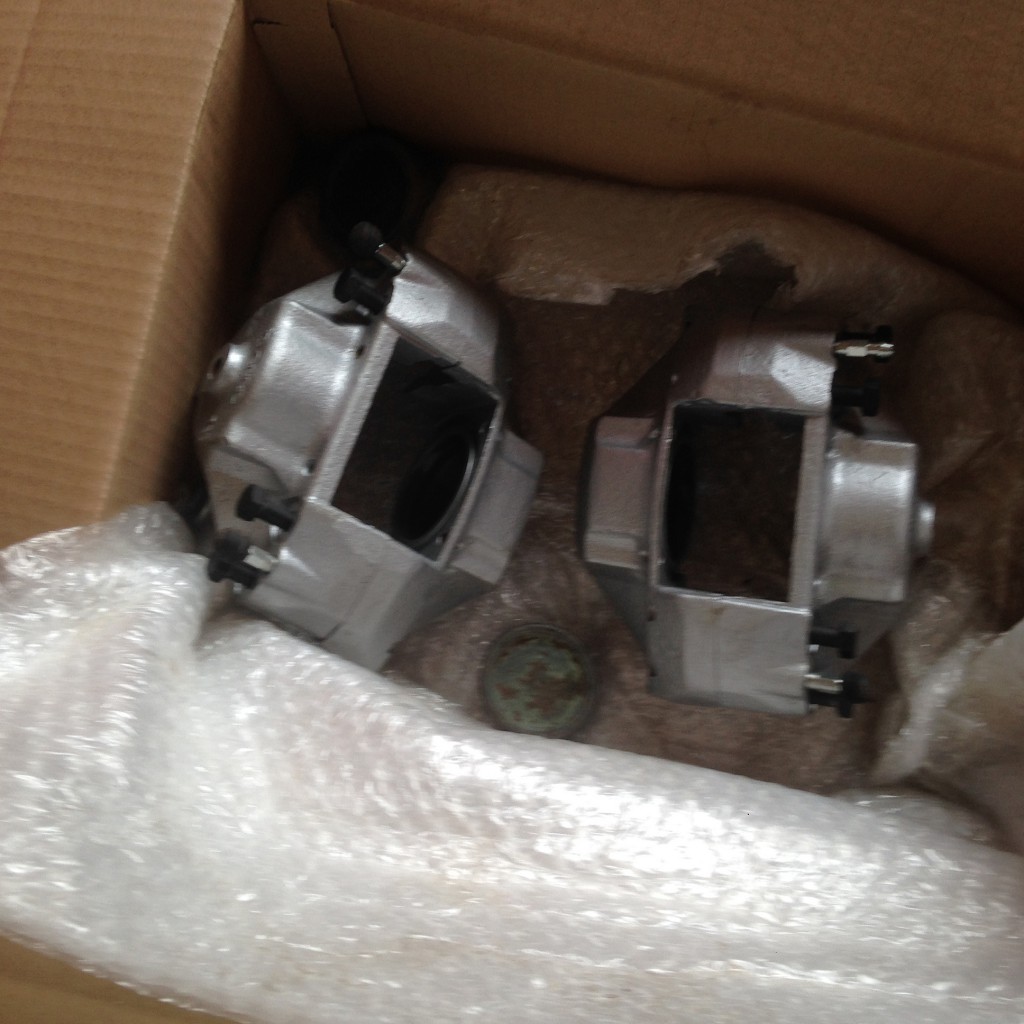
I also got some stuff done on the Highroof, removed all brakes, masterbrakecylinder, booster, steeringrods etc front beam soon ready to get dropped down and put on the table for some restoration (new needle bearings, balljoints, bumpstops, kingpin bushings etc). Hope to get started on the metalwork on Benny’s T3 soon also…
VW Kleinbus Deluxe 21 window samba splitbus
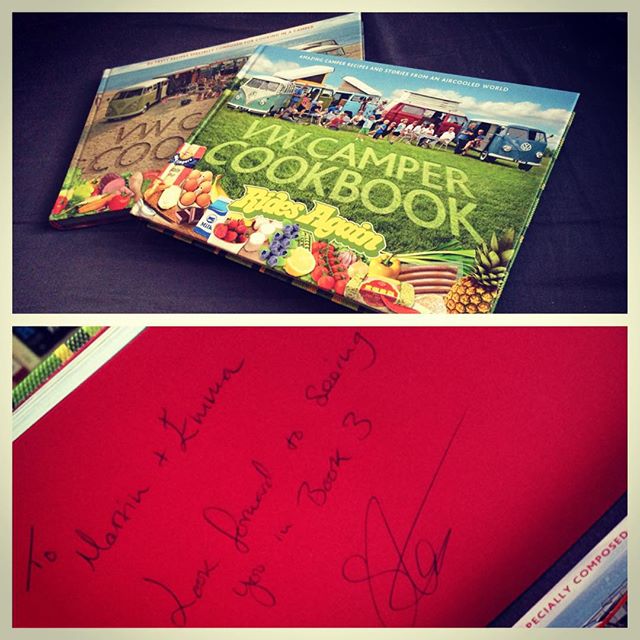
… by Steve Rooker. Get yourself a copy at: www.vwcampercookbook.com
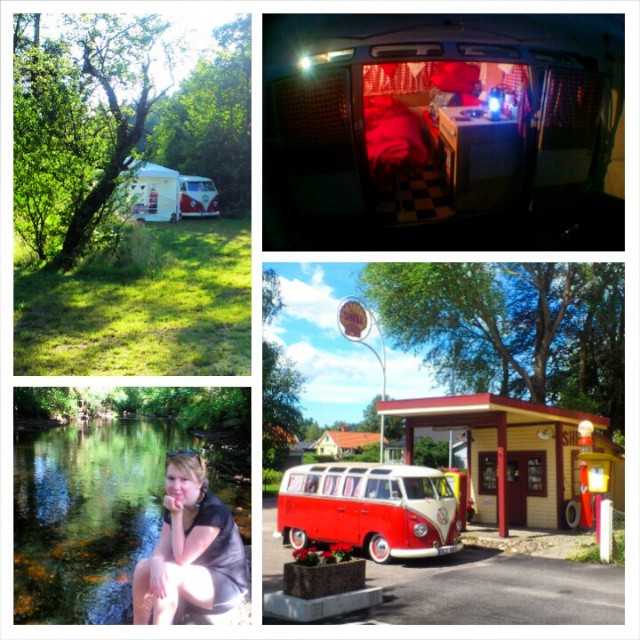
Read all about our VW bus roadtrip we made last summer on: www.camperontour.com
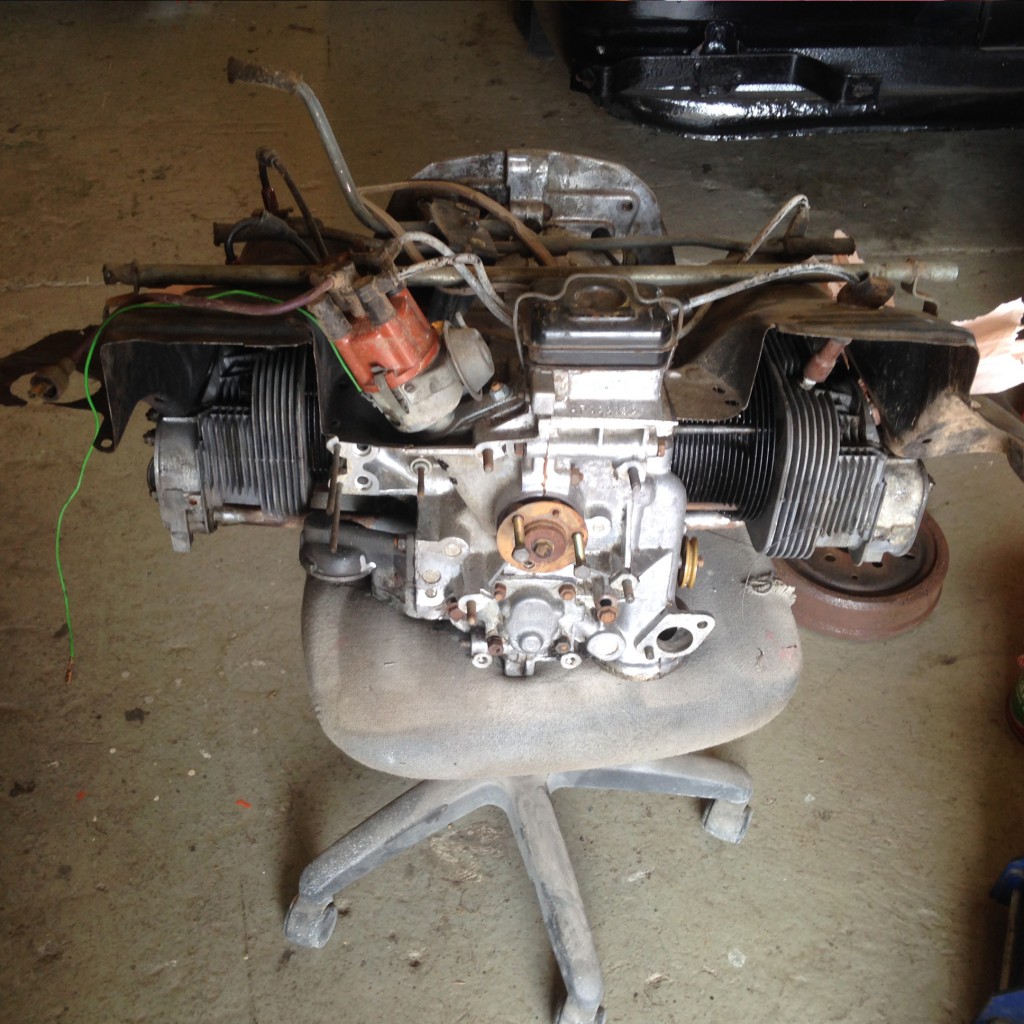
Today I got some stuff done on the bus, that just have been standing in the shop since August while I have been working on other projects. After last summer (2014) when it was crazy hot here, and driving hard with a fully packed bus with a freewayflyer (type1 1968) transmission, the engine runned a little too warm for my taste. Specially when driving long times on the highways, when driving slower or standing still it cooled just fine. The engine a “H” bus case, 1500cc (that was completely rebuilt in 2013) got new 1600cc cylinders and dual-port heads etc. It got updated with a doghouse cooler but clearly its not up to the job so next step will be an bigger external/remote EMPI oil cooler with fan. And I also going to install a real oilfilter, which will make the engine live longer in the future. This was things VW added on later buses so why not upgrade a old one too.
And maybe change the alternator pulley to a Porsche 356 pulley (that have smaller diameter= more cooling for the heads). Since we just driving on the summer I will not use a “by-pass” valve in the oil system, I will just let it idle some extra minutes when it’s cold, before take off. The NOS 1500cc exhaust/muffler will get modified with dual outlets (like on the beetle) but with stock bus exhaust pipes/outlets installed instead so it will look just like original but with dual bus exhausts coming out under the bumper. Also some extra drilled holes inside the muffler will be done. All this just for little less “back pressure” and better exhaust flow and hopefully it will cool the engine a little better too when the hot exhaust fumes can get out from the muffler more quickly. Im going to report after some test runs how big the difference got after all this modifications. So stay tuned. Here comes part 1.
To be continued…
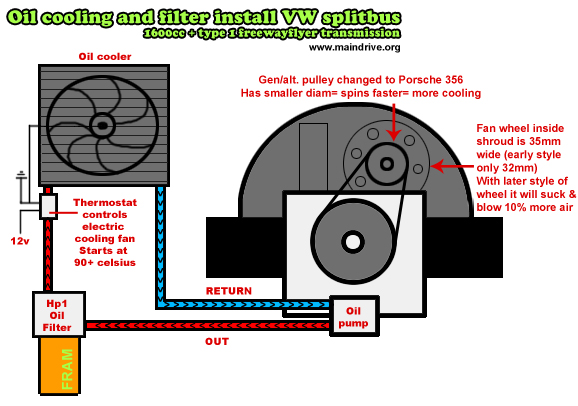
I made this diagram to show how my oil system will be when it’s finished. And I will post the engine cooling result here after some test runs…
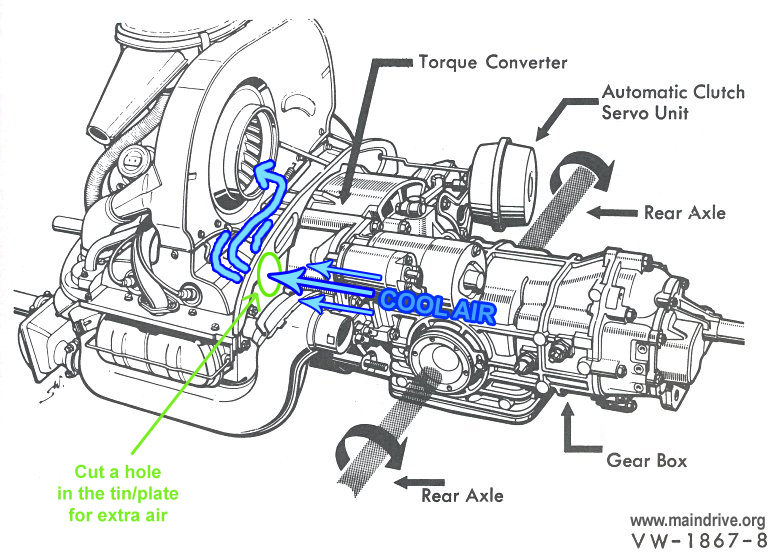
Another trix is to make a hole or like I did cut 2 lines in the tin/plate and folded the the metal down, then it’s possible to adjust how much extra air is flowing in. I suggest that you make a net in front of the opening, you don’t want to have the fanshroud full of leaves etc. I know some VW drivers in the Arizona desert who have made this modification with good results and they could even see the temp. meter drop a bit too. This is an easy way to get more air in a small engine compartment like on a splitbus, with a bigger engine that need more cooling air. Later model buses (Bay window 1968) got bigger air intakes (with angle) in the rear roof for scooping in more air in the engine compartment. You don’t want to mount ugly scoops on your split.
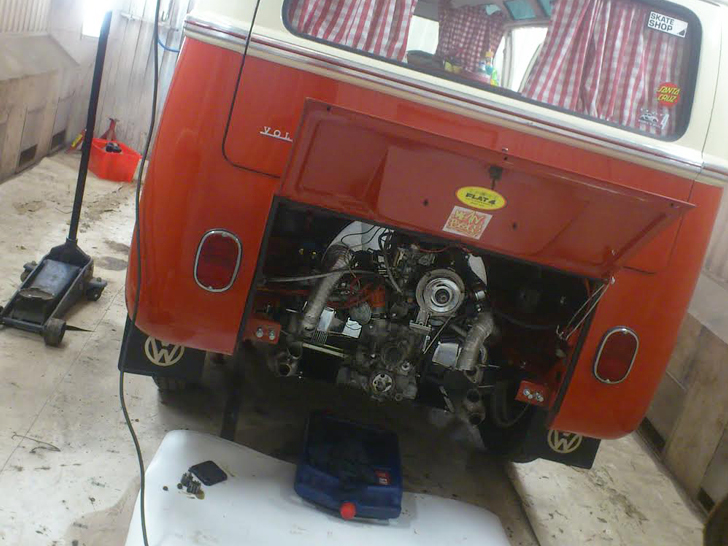
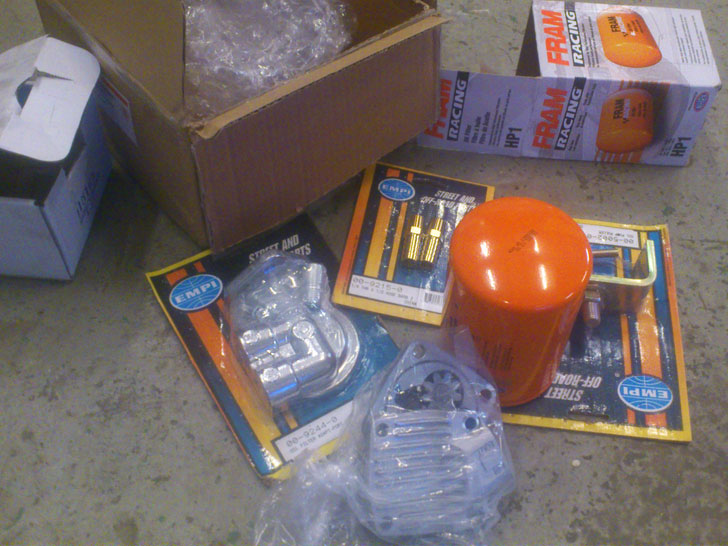
Bumper, sheetmetal and exhaust removed. Going to install a Maxi flow oilpump with dual IN & OUT ports for external oilfiler FRAM and the oilcooler.
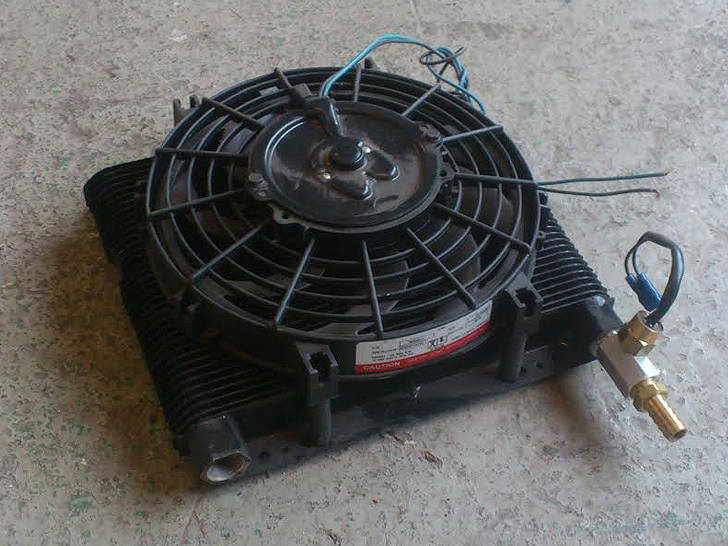 The new EMPI 72 plate oilcooler with 9″ electric rotary fan controlled by a inline thermostat. So the fan will start and stop by itself when needed (when hot). Just like on modern watercooled cars…
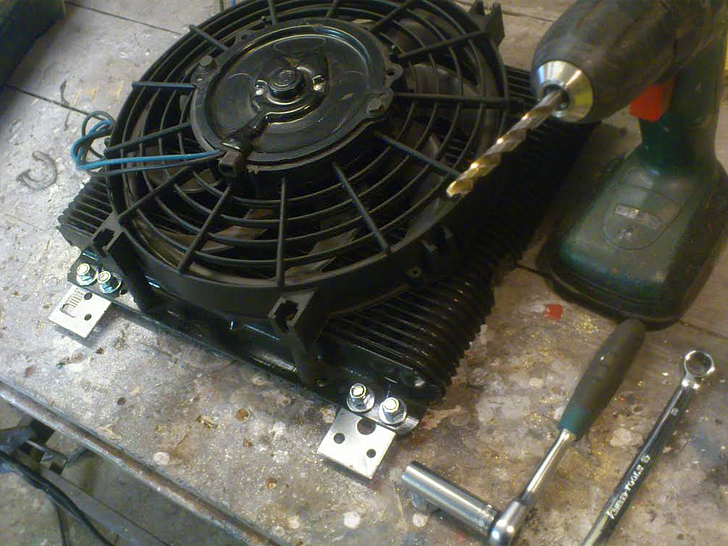
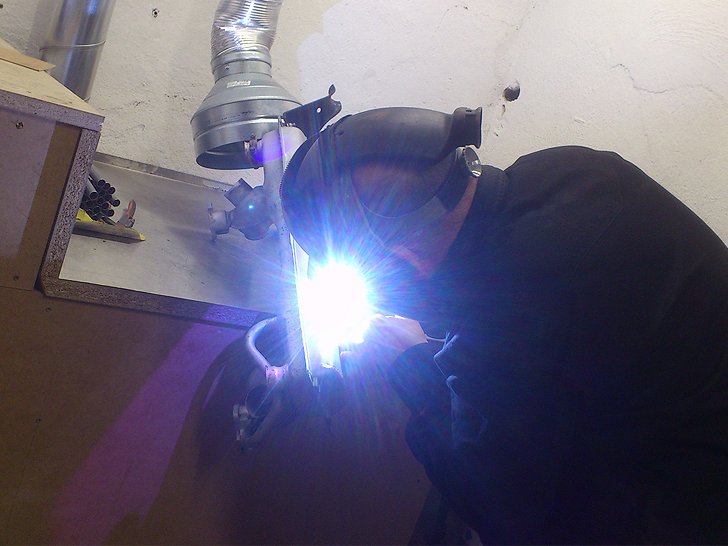
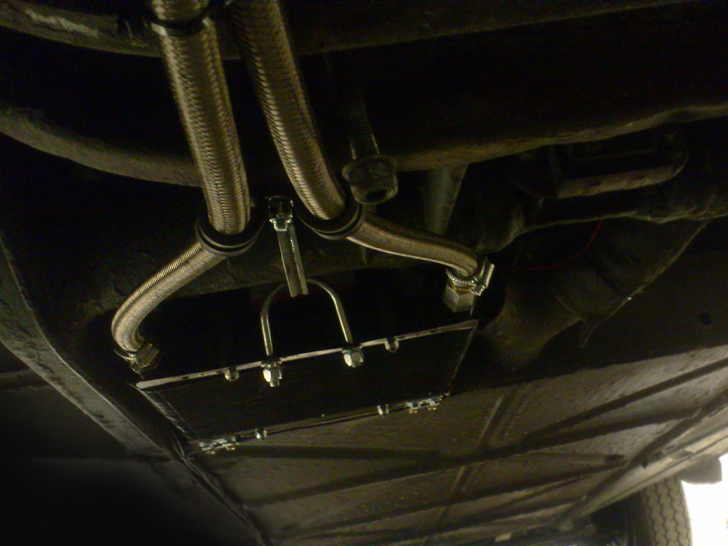
Had to make some custom brackets. Made it adjustable on 1 side, so possible to adjust the angel up & down on the cooler for more airflow if needed, but don’t think it will be necessary with this big fan.
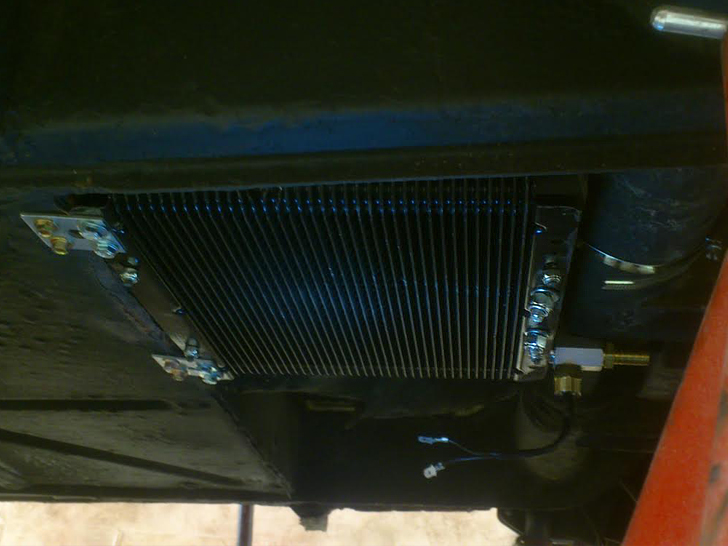
On a Samba bus it isn’t really much space underneath like on an ordinary splitbus or bay. Because Deluxe and sunroof buses have extra strengthed floors underneath.
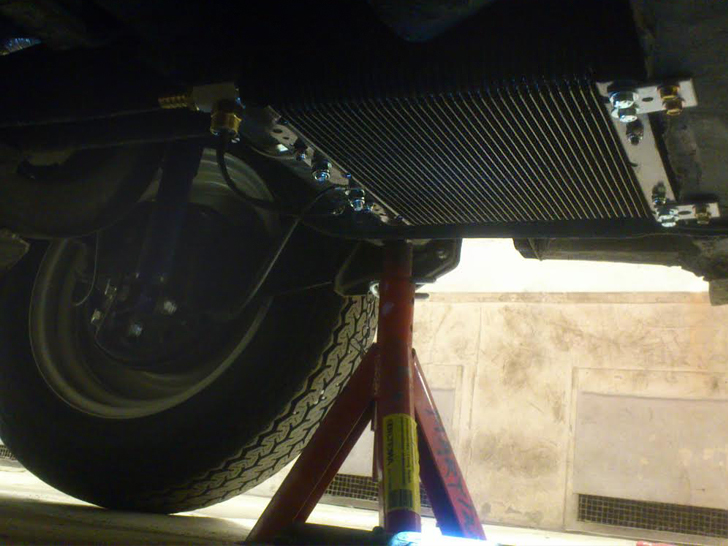
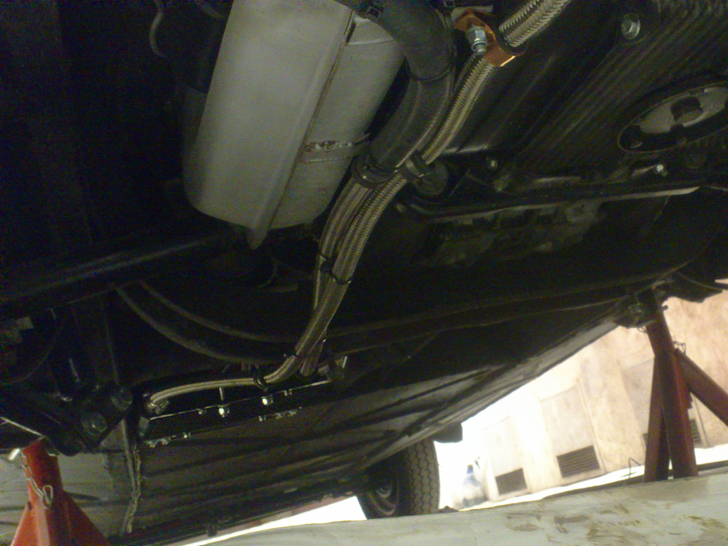
This was the only place the cooler would fit nice, just in front of the transmission. Cooler lays flat with the floor so it wont hit anything when driving low or bumpy roads.
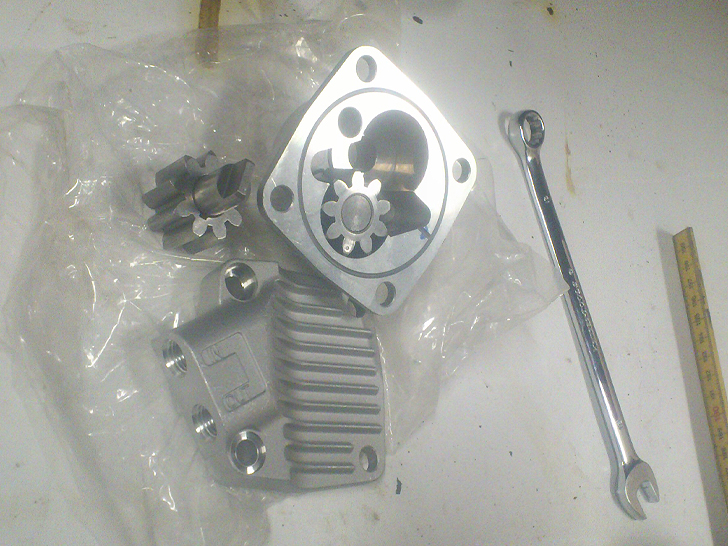
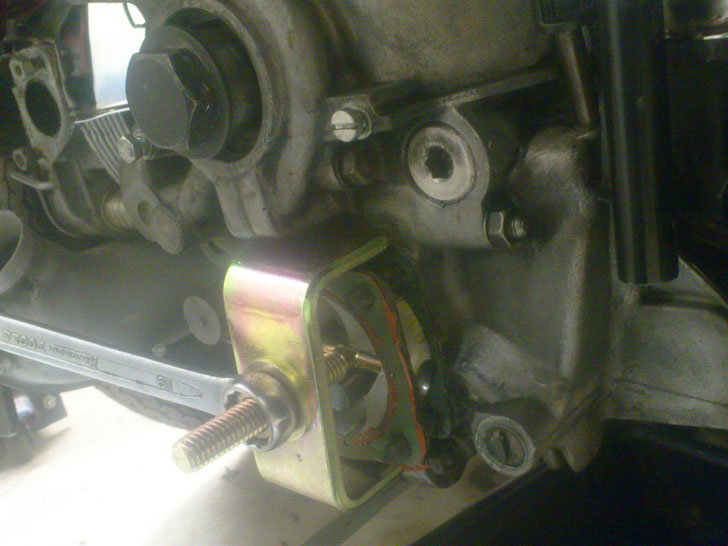
Maxiflow oil pump has IN & OUT outlets on the oilpump cover. No drilling, tapping or messing around with the engine case. Almost “bolt-on”.
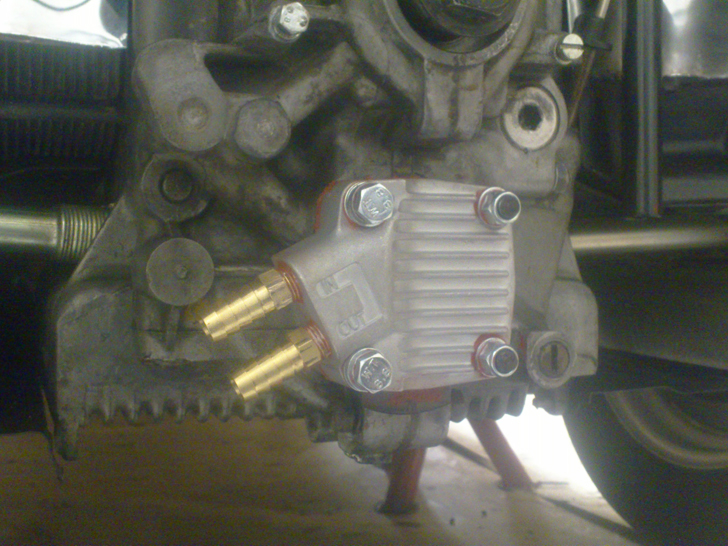
Pump installed and ready. Watch out for using the bolts that is supplied with the oil pump kit, some of them are to short and can destroy the threads in the engine case. I took some longer ones instead.
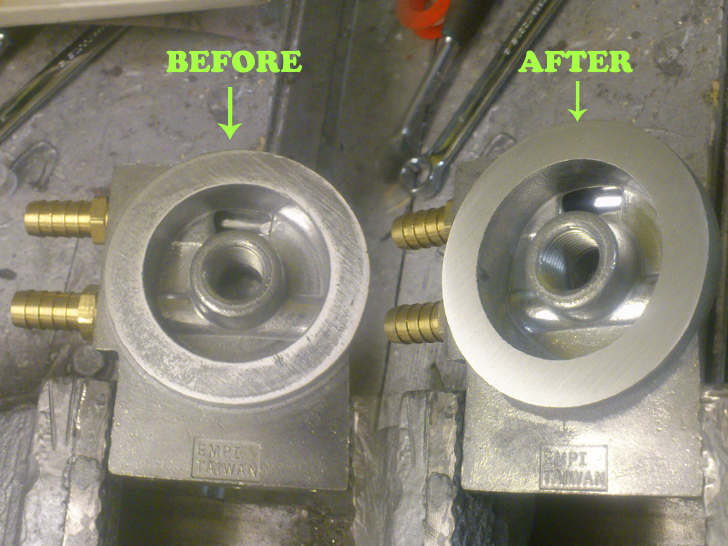
EMPI is not what it used to be (made in US) as you can see its now made cheap in Taiwan. It works but the quality is poor. I had to machine/sand down the surface to make the oilfilter o-ring seal tight. And always watch out for “cast beard” in canals and holes, you don’t want that in your engine…
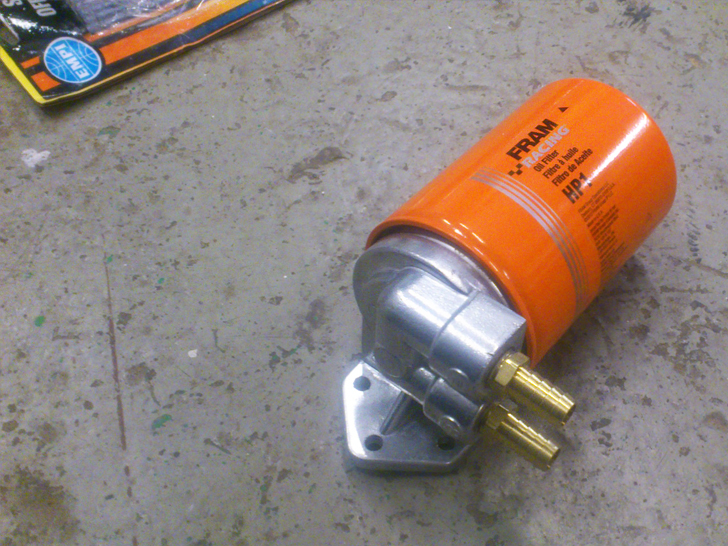
Filter and holder/bracket ready to go in. I will mount it in the left corner under the battery tray so it will be easy to change filter in the future. Also if there should be a oil leak somewhere from the hoses I can loop the hose back to the oilpump and keep driving.
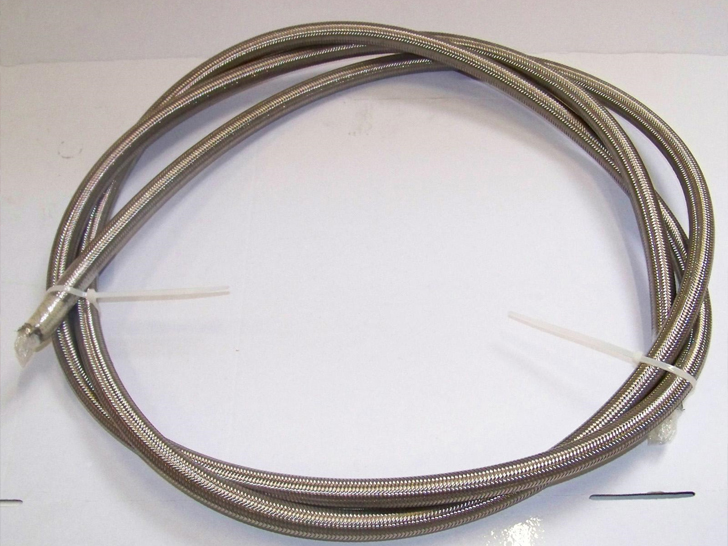
Heavy-duty stainless steel braided oil hose. Good for -90 to 160+ celsius. Pretty pricey. Im not planning to drive at Le-mans but good to know that you have hoses that will last on those hot summer days, right? I will use dual hoseclamps in each end. I know some historic Porsche rally/racing cars that use hoseclamps so it will work just fine on an old bus like this too…
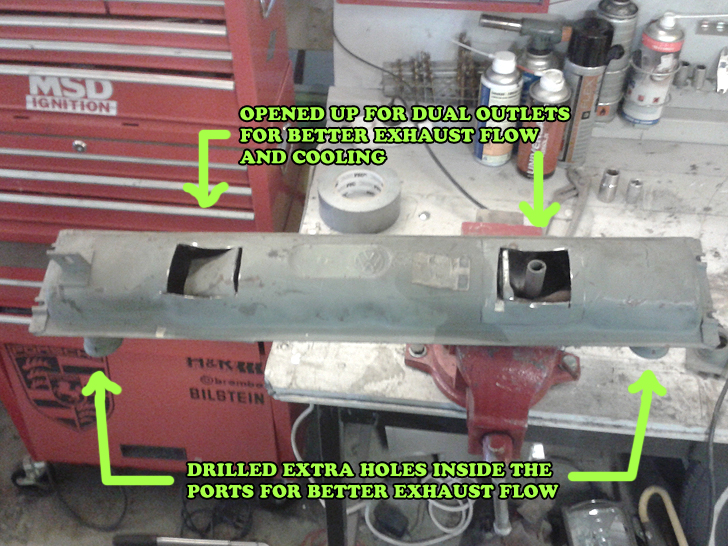
Modified for 1600cc+. It’s not finished in the picture above of course…
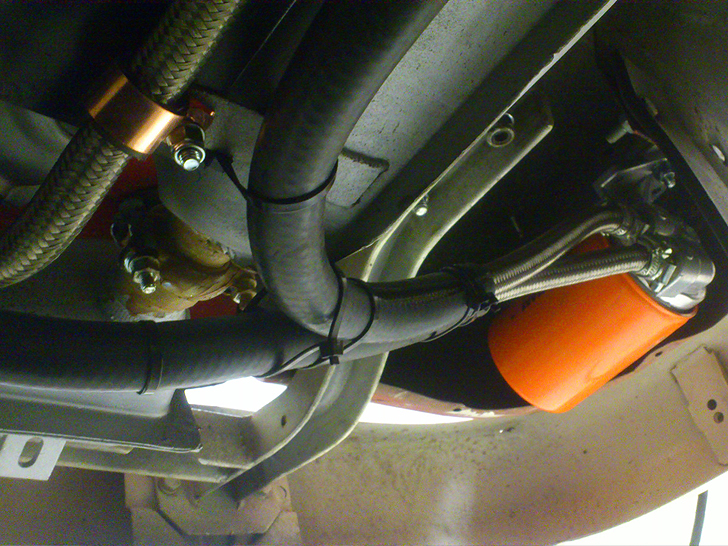
System is now filled up with new oil. No leaks. Great. Almost 1 extra liter of oil needed to fill it up now. More oil in the engines oilsystem is good, keeps the oil fresh longer and helps cooling.
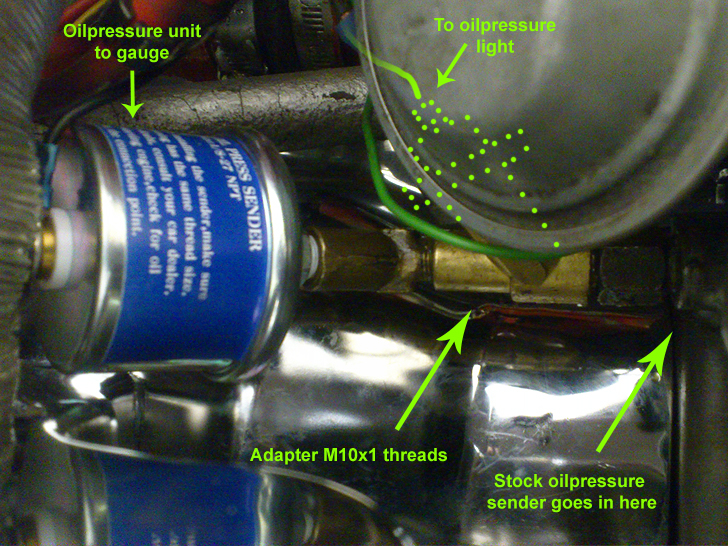
Oilpressure gauge is now installed, the sender was mounted on a adapter, the case is M10x1 threads. Oiltemp is measured thru the dipstick. Left to do is a testdrive, when weather approves…
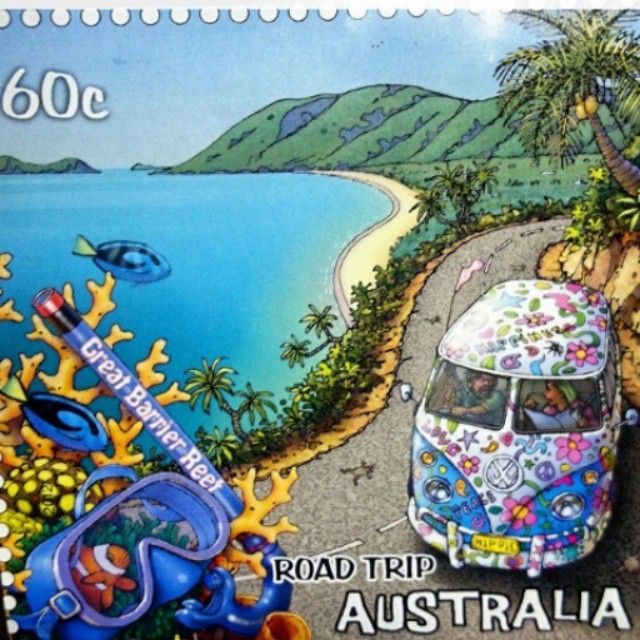
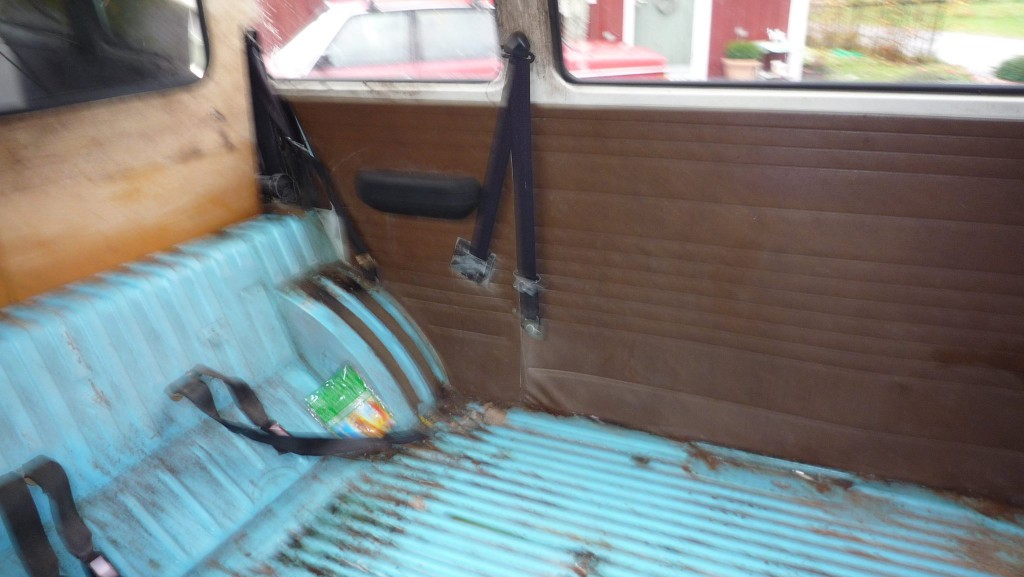
This is the latest VW find. A 1976 Baywindow bus. Decoded it and found some info. It was built on a Friday, 7 November 1975, painted in a special order color 951077 Lightblue. 4 speed manual transmission. 2 liter engine with carbs. 8 seater, sliding door right, Left hand drive. Canyon brown leatherette interior. Extra option was: Ebersprächer heater, heavy duty shocks, backup lamps, vent wings in cabdoors.
This bus needs new rockers, rear fenders, some new metal in the front fenders and floor. Will get new nice camping interior and a nice paintjob. Will keep you all updated on pics here on the website.
Want to DECODE your bus? Visit this site: http://www.vw-mplate.com/mcode.php
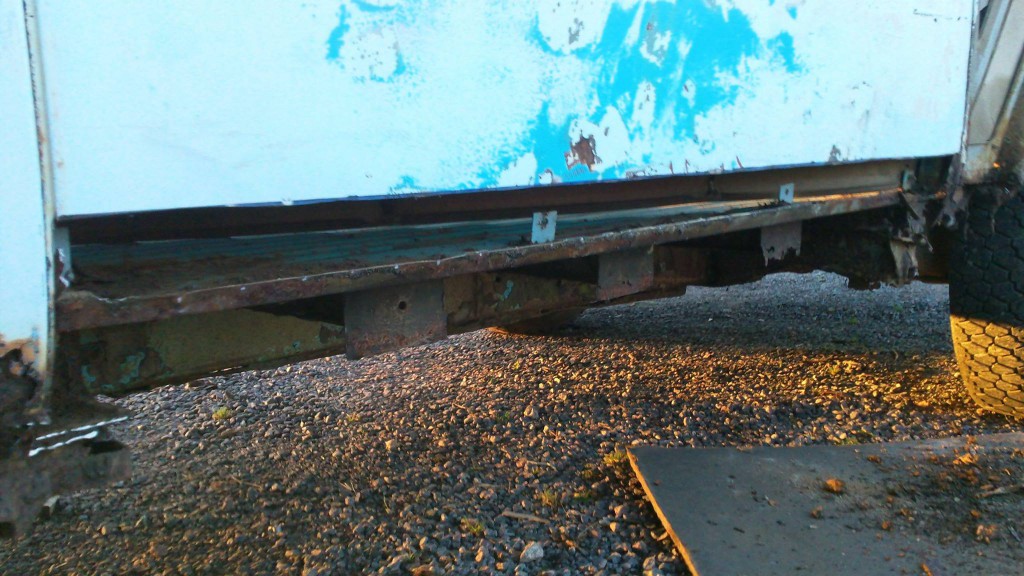
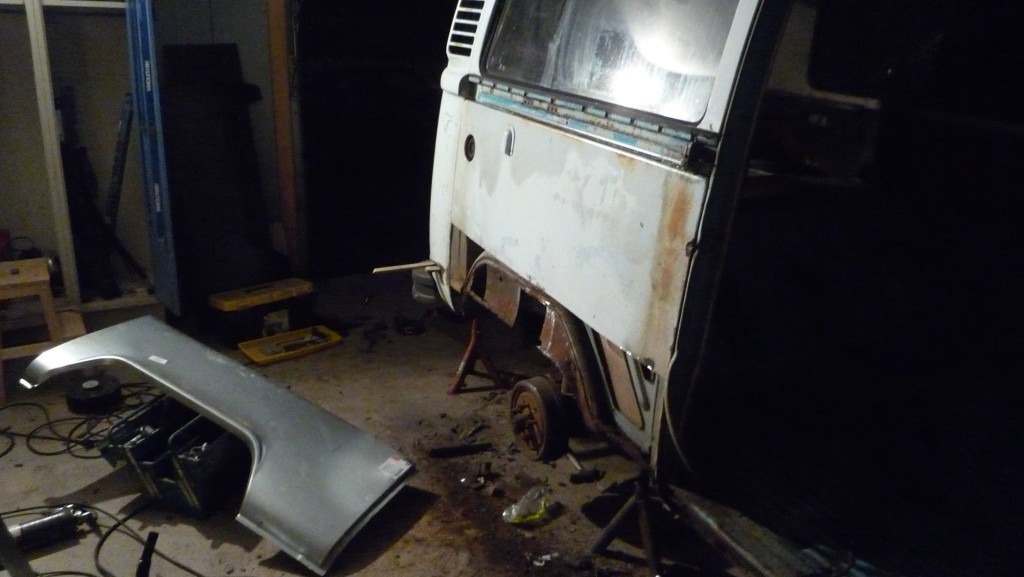
New rockers and fenders are next to do in the workshop…
Looking for parts to Late Bay like, slidingdoor, passenger door and full length roof rack. Let us know what you got: info[@]maindrive.org
